Inspired by the sun and fun of the approaching Labor Day weekend, I had high hopes of creating a scrumptious key lime pie to spark up the holiday eats. I bought all the ingredients I thought I would need, and even scribbled down a potential recipe. Labor day came with lots of beach fun and family time, but I never did get around to making the pie I had promised to my key lime loving husband!

So yesterday, I made it my post church project to create a gluten and dairy free key lime pie. I have to admit, I was actually really excited about this! As many of you know, I am not so into baking; in fact, it completely stresses me out. However, life circumstances have dictated that I learn to do it, and well, perhaps I will begin to like it more and more in time. But since key lime pie holds a special place in my heart, I was eager and happy to jump right into this sweet, baking adventure to make a delicious tart pie!
I honestly was hoping just to search online and find a recipe that would work, as a week had gone by and I lost my recipe I wrote down, go figure .... but I couldn't find one that seemed right for my taste buds and pantry. So, the educated guessing up a creative recipe began; and it turned out to be a success!

I started off by making the crust. There were many healthier versions of crust that I could have made that would have been more Paleo in nature, but the truth is I just wanted a damn good pie; not necessarily a "healthy" pie. I mean come on....IT'S PIE! Got to be sweet. Got to be delicate! Got to be rich. Got to be flavorful. Got to be memorable.
So graham cracker crust is the direction I took. Of course, gluten free graham crackers! I used a box of Kinnikinnick Graham Crackers to create a perfectly moist, adhering crust. I placed the crackers into the Vitamix and chopped them until they were a fine mix of crumbs. I was aiming to have 2 cups of crumbs, but came up a little short as my oldest had stolen two of the crackers while I was prepping! I added a 1/4 cup of shredded coconut, 1 Tablespoon of organic sugar, as well as a heaping 1/4 cup of Hazelnut Meal to the graham crumbs, and blended them together in a large mixing bowl. Next, I added 6 tablespoons of softened (mostly melted) Earth Balance Dairy Free & Soy Free buttery spread. Once stirred together, I pressed the gooey graham cracker mixture evenly into the bottom and sides of a glass pie plate.


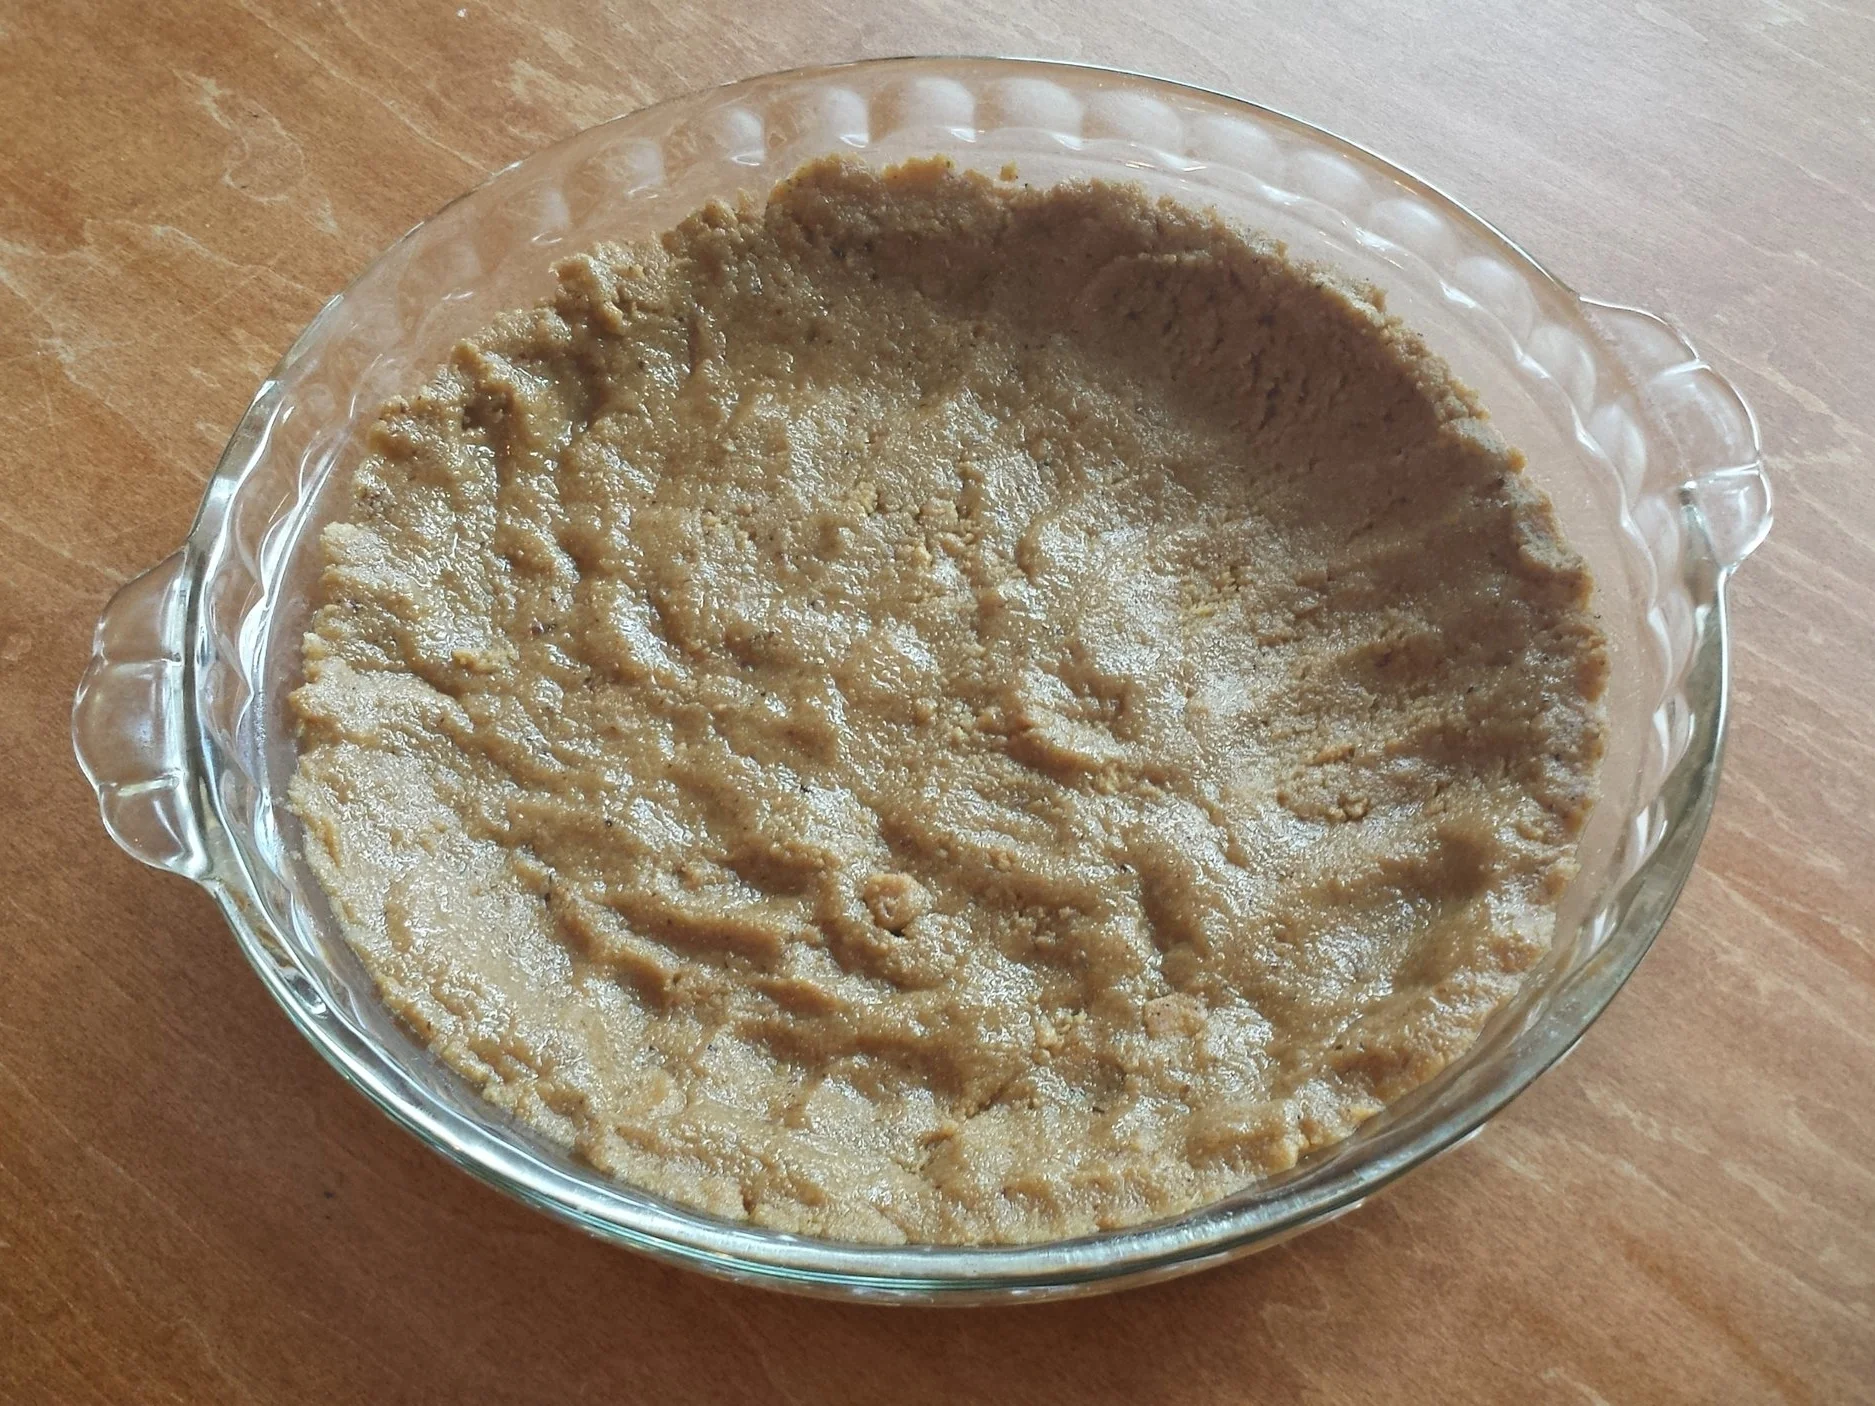
So I must confess, I could not at this point decide if I should bake this pie shell or wait until I filled it. In my indecisiveness, I went half in and baked it for only 6-7 minutes at 375'.
Now the most important part ... the filling. Eggs make me nervous. I don't like them. I mean, I like what they do, I just don't like how they taste. So, I wasn't sure how many yolks I wanted to throw into this baby. I set myself on 3. Two yolks and one whole egg. Not sure if that is standard, but seriously, there really is nothing standard about a gluten and dairy free key lime pie! I am setting the standard here!
So 2 yolks and 1 egg went into another mixing bowl, along with a tad bit shy of a 1/2 cup of key lime juice. (You can squeeze those little limes yourself or buy it already prepared. It all depends on what allergens you are trying to avoid as many products have some sort of preservative/additive in them.) Although I did say I didn't want a "healthy" pie, it's a sliding scale; so I stirred in 1/3 a cup of honey .... and 2 Tablespoons of sugar.
Next came the game changer: COCONUT CREAM. Typically a key lime pie has sweetened condensed milk, but obviously this is not a dairy free item. The easiest replacement is a can of coconut cream. I chose to use the can of coconut cream, you can however, use a regular can of coconut milk and separate the cream from the liquid. If you enjoy extra steps ...have at it! I on the other hand rush to the easy when it is available, since so often all the options in my life just seem to be in one category of "HARD".
The final two ingredients to be mixed into the filling are tapioca flour (starch) and grated lime zest. The tapioca is necessary to help give the right texture to the pie, so don't skip that step! Two tablespoons need to be mixed into the liquidy-yolk-cream. I just threw the tapioca flour into the liquidy mix, and it made it challenging to mix all the clumps out when I was blending. So, I think it would be worth trying to sprinkle it around evenly while blending.
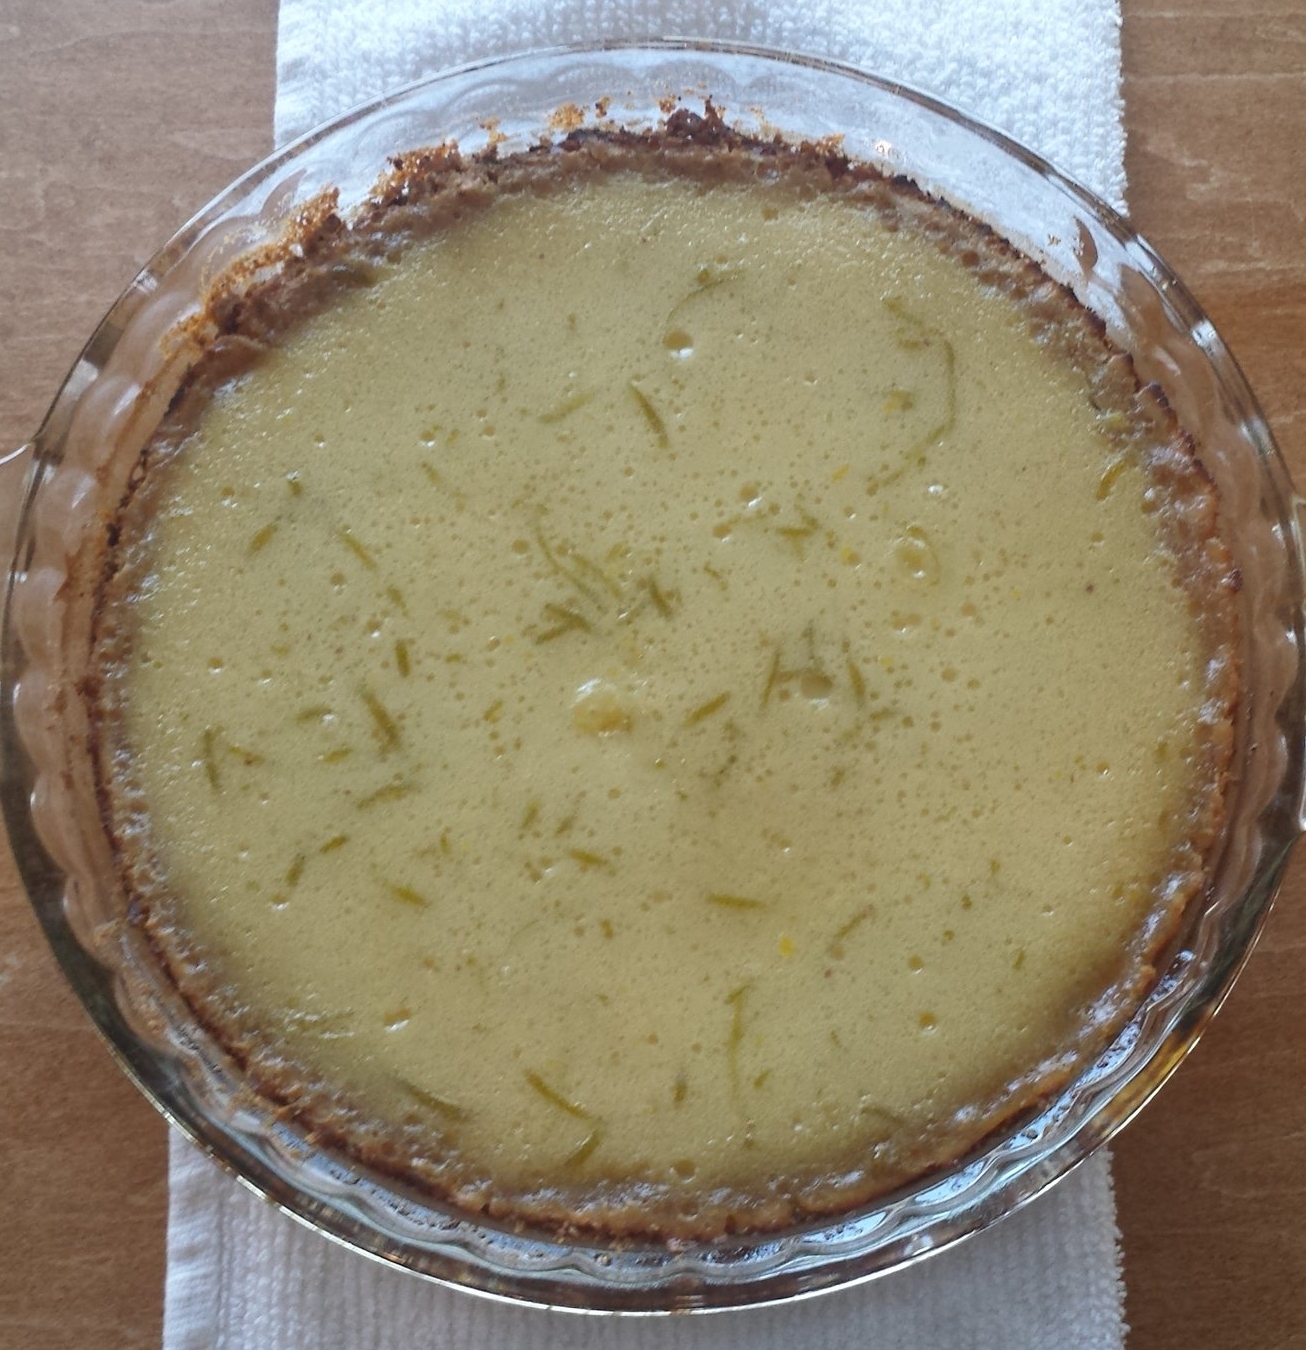
The lime zest ... Ok so once baked, it looked a little odd. But hey, I am creating something novel right? So, maybe it looked perfectly pretty as designed. Your choice on the zest. If you don't throw it into the mix, put it on top of the pie after baking as décor with a zip of bright tartness.

The filling was more liquid than I thought it would be even after mixing it all together for quite some time. However, I went with it and poured it over the prepared graham cracker pie shell and baked it at 350' for 15 minutes, then covered it loosely with foil, and continued to bake it for 10 minutes. You will know it is ready when the center is not jiggly!
As I anxiously waited for the pie to cool, I ran out the door to pick up some So Delicious dairy free coco whip to add a nice finishing touch to this deliciously smelling hot pie! Whoo.... I was excited about this one. I was considering calling the pie "dinner" instead of our planned cookout, just so I could try it sooner!
I returned home from the store with two different whipped toppings ... So Delicious CoCo Whip (like coolwhip) and a canister of Rice Whip (canister of whipped cream). The Rice Whip definitely won on appearance and fun-factor, as for every one shot of rice whip that hit the pie, a few went into our mouths! (The kids had a blast with that!) The So Delicious CoCo Cream won the taste test though. I will need to figure out how to make it look pretty next time around.
The first slice cut and lifted out of the pie plate perfectly! AWESOME!!!! My heart was so happy and I had not even tasted it yet!! Logan received the first slice (I stole a bite). The texture and taste were great: soft, creamy, sweet, tart! And the CRUST! The crust receives the shiny medal on this one! Oh my it was excellent. My only sigh was although it was tart, it wasn't snapping at my taste buds with a tart zing. I am not sure if that means put in more lime or take out some sugar. However, my immediate solution was to squeeze a lime on top of the pie. And that was it for me. Keylime heaven!
The pie was a hit. I didn't expect my boys to be as excited about it as they were; which is fantastic, but there is no pie left! My oldest son ate 3 pieces (Yes, I let him eat 3 pieces of pie!!) and the first thing he said to me this morning when he woke up was, "Mommy, I really loved that key lime pie! It was soooooo good.". There you have it.
So Good!

Key Lime Pie
Crust:
2 cups gluten free graham cracker crumbs
1/4 cup shredded coconut
1/4 cup hazelnut meal (heaping 1/4)
1 Tablespoon organic sugar
6 Tablespoons Earth Balance Dairy Free Soy Free Buttery Spread
Filling:
2 egg yolks
1 egg
almost 1/2 cup key lime juice
1/3 cup honey
2 Tablespoons organic sugar
2 Tablespoons tapioca flour (starch)
1 can of coconut cream, 5.4 fl oz.
1 Tablespoon lime zest
juice of 1 lime
Topping:
So Delicious Coco Whip
lime slice (thin)
What To Do
- Preheat the oven to 375'.
- Place an entire box of gluten free graham crackers into a Vitamix or food processor. Pulse or mix until the crackers become fine crumbs. Pour the crumbs into a mixing bowl. Stir in the coconut, hazelnut meal, and sugar, and mix until well blended.
- Add 6 Tablespoons of softened Earth Balance Dairy Free Soy Free Buttery Spread. Mix together until the graham cracker crumbs are totally moist.
- Transfer the buttery graham cracker crumb mixture to a glass pie plate. Press the gooey mixture into the bottom of the pie plate evenly, and about two thirds the way up the side.
- Place the pie crust into the preheated oven and bake for 6-7 minutes. Remove it from the oven, and allow it to cool and settle. Reduce the oven temperature to 350'.
- Crack 2 eggs and only put the egg yolks into a mixing bowl. Add 1 more entire egg (yolk & white). Beat the eggs together until uniform. Pour in (just a little less than) a 1/2 cup of key lime juice. Add the honey and sugar. Mix for a minute. Pour in the coconut cream and carefully add the tapioca flour a little at a time while you continue to mix the filling. If you desire (and I think you should), toss in the lime zest. Continue to mix until smooth.
- Pour the filling into the prepared pie shell. Bake on 350' for 15 minutes. Cover loosely with foil, and continue to bake for another 10-15 minutes.
- Remove the pie from the oven once the middle of the key lime pie is no longer jiggly.
- Set the pie out on a cooling rack. Once cooled to room temperature, place the pie (covered with plastic wrap) in the refrigerator until chilled.
- Before eating, squeeze a fresh lime over the entire pie. Decorate the pie with a dairy free version of whipped cream or cool whip. (I think the So Delicious CoCo Whip tastes best, but rice whipped cream allows for prettier presentation.)
- Add a sliver of a fresh lime and dive in!
